Part 1-Written Response
1) Throughout the semester I have learned how to navigate and use the program Photoshop CS6. At the beginning of the semester I had no clue what I was doing and had to constantly ask questions on how to use the program. Now I have a pretty good understanding of it and most of my questions are more complicated then how to do something. I think that doing the mini projects every day were a big key to my success in this class. Each one would focus on a different tool on Photoshop, so that helped me out tremendously. Looking back at my blog, I can see a difference as to how well my projects look now compared to the beginning of the semester.
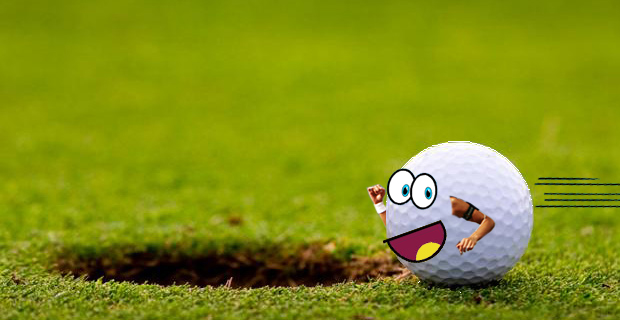
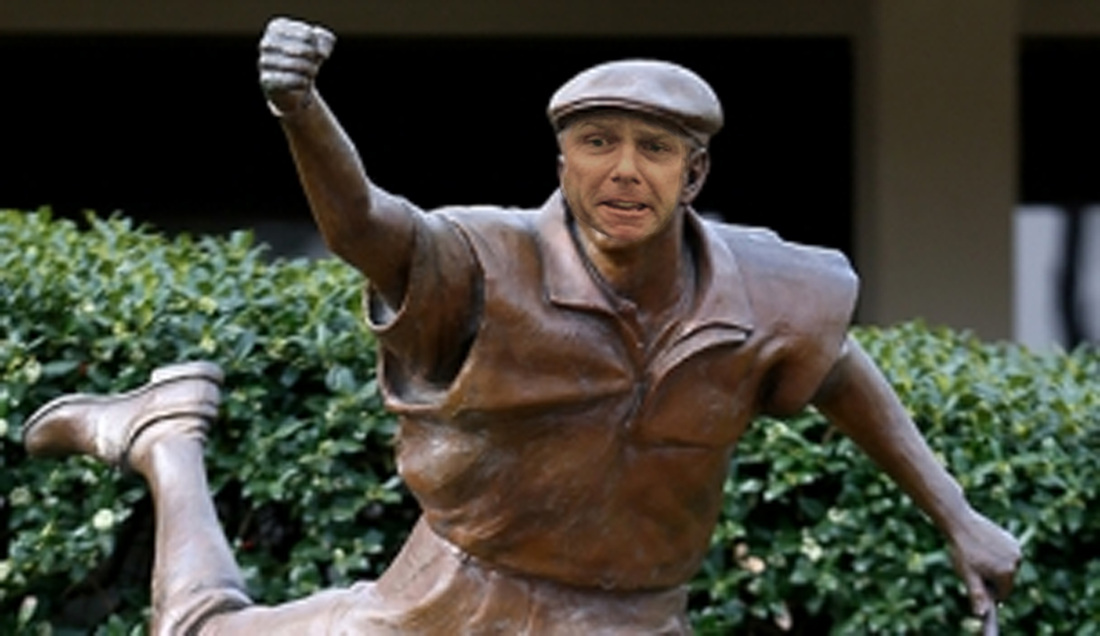
2) My most successful project this year was the bringing an object to life project. It was my most successful because I added cartoon effects to it, which made it come to life. My inspiration to do this project was that i play golf and rally enjoy it so I try and incorporate golf as much as possible into my projects. Planning out this project was very simple, all I had to do was add facial features, arms, and the lines behind the ball to give it the effect that it was moving. For the arms I chose running arms to make it look like he was running.
1) Throughout the semester I have learned how to navigate and use the program Photoshop CS6. At the beginning of the semester I had no clue what I was doing and had to constantly ask questions on how to use the program. Now I have a pretty good understanding of it and most of my questions are more complicated then how to do something. I think that doing the mini projects every day were a big key to my success in this class. Each one would focus on a different tool on Photoshop, so that helped me out tremendously. Looking back at my blog, I can see a difference as to how well my projects look now compared to the beginning of the semester.
2) My most successful project this year was the bringing an object to life project. It was my most successful because I added cartoon effects to it, which made it come to life. My inspiration to do this project was that i play golf and rally enjoy it so I try and incorporate golf as much as possible into my projects. Planning out this project was very simple, all I had to do was add facial features, arms, and the lines behind the ball to give it the effect that it was moving. For the arms I chose running arms to make it look like he was running.

Part 2 Tutorial-
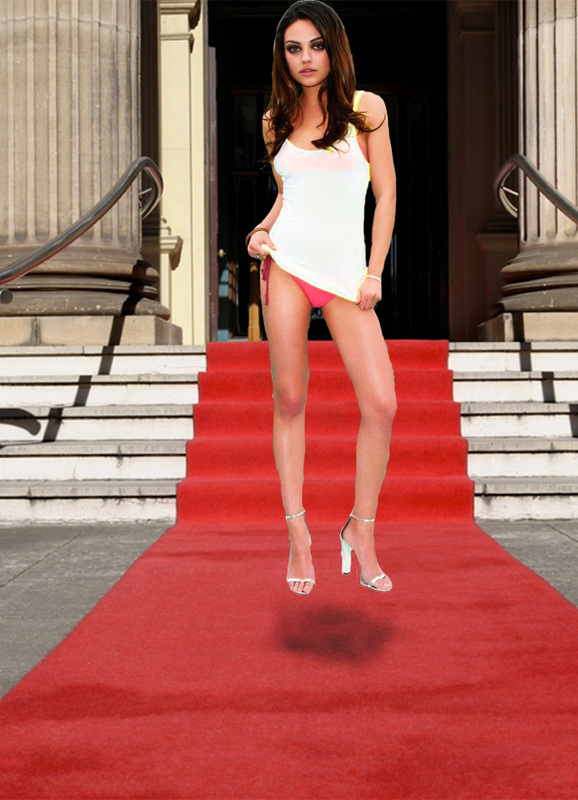
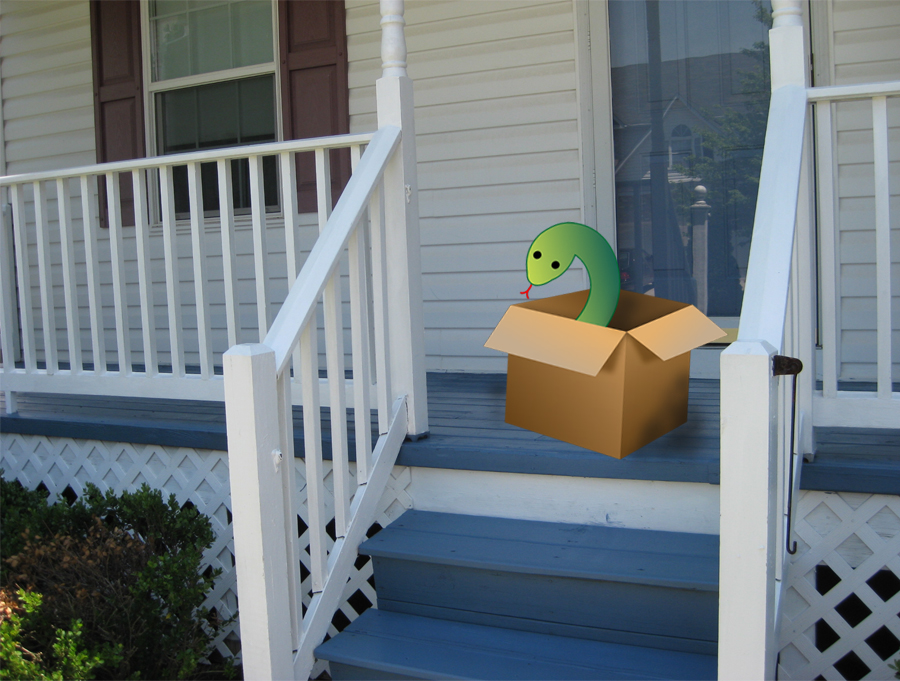
Step 1- Once you have found a picture that you would like to give an object in the picture a levitating effect, use either the magic wand tool located on the left tool bar 4th. from the top or use the eraser tool on the left toolbar 11th. from the top. If the background of your picture is all one color, using the magic wand can complete this faster and in a more efficient manner.
Step 2- Find another picture to put the levitating object on and make it the layer behind the object.
Step 3- Place the object where you want on the picture.
Step 4- Use the burn tool on the left toolbar 13th. from the top to give it a shadowy effect and make it look like the object is actually levitating.
Step 5- Once you have burnt underneath the object, you can use the liquefy tool to blend the shadow into the background and make it look natural. Liquefy is found under the filter option on the top toolbar and is in the middle of the list of options within the filter option. When using the liquefy tool, make the brush very small to mix it in small increments so you won't mess up.
Step 6(optional)- In this case to just change up the object, in the example below I changed the color of Mila Kunis' shirt. It was originally white and now has a yellowish tint to it. To change this use the quick-selection tool found next to the magic wand and select the area you wish to change. Once selected click the ying-yang looking circle on bottom right. Once that has been selected a menu of options will appear, click hue/saturation and just adjust the settings to your likings

 RSS Feed